Most homeowners have never filed a roof claim and are quietly anxious about it. They worry their rates will jump, the claim will be denied, or they will get stuck with a mess. A roofing rep who can calmly guide them through the process, honestly and without overpromising, becomes a trusted advisor instead of one more knocker. This is how the claim process actually works, and how to walk a homeowner through it.
Set honest expectations first
Before anything else, be clear about what a claim is and is not. Insurance covers sudden, storm-related damage, not old age or normal wear. Never promise a "free roof." Overpromising is the fastest way to lose trust and to set up a denied claim. The honest frame: "If the storm caused real damage, your policy is there for exactly this. My job is to document it accurately so the adjuster sees what I see." This ties directly to the deductible conversation, which you should have early and straight.
Step 1: The inspection
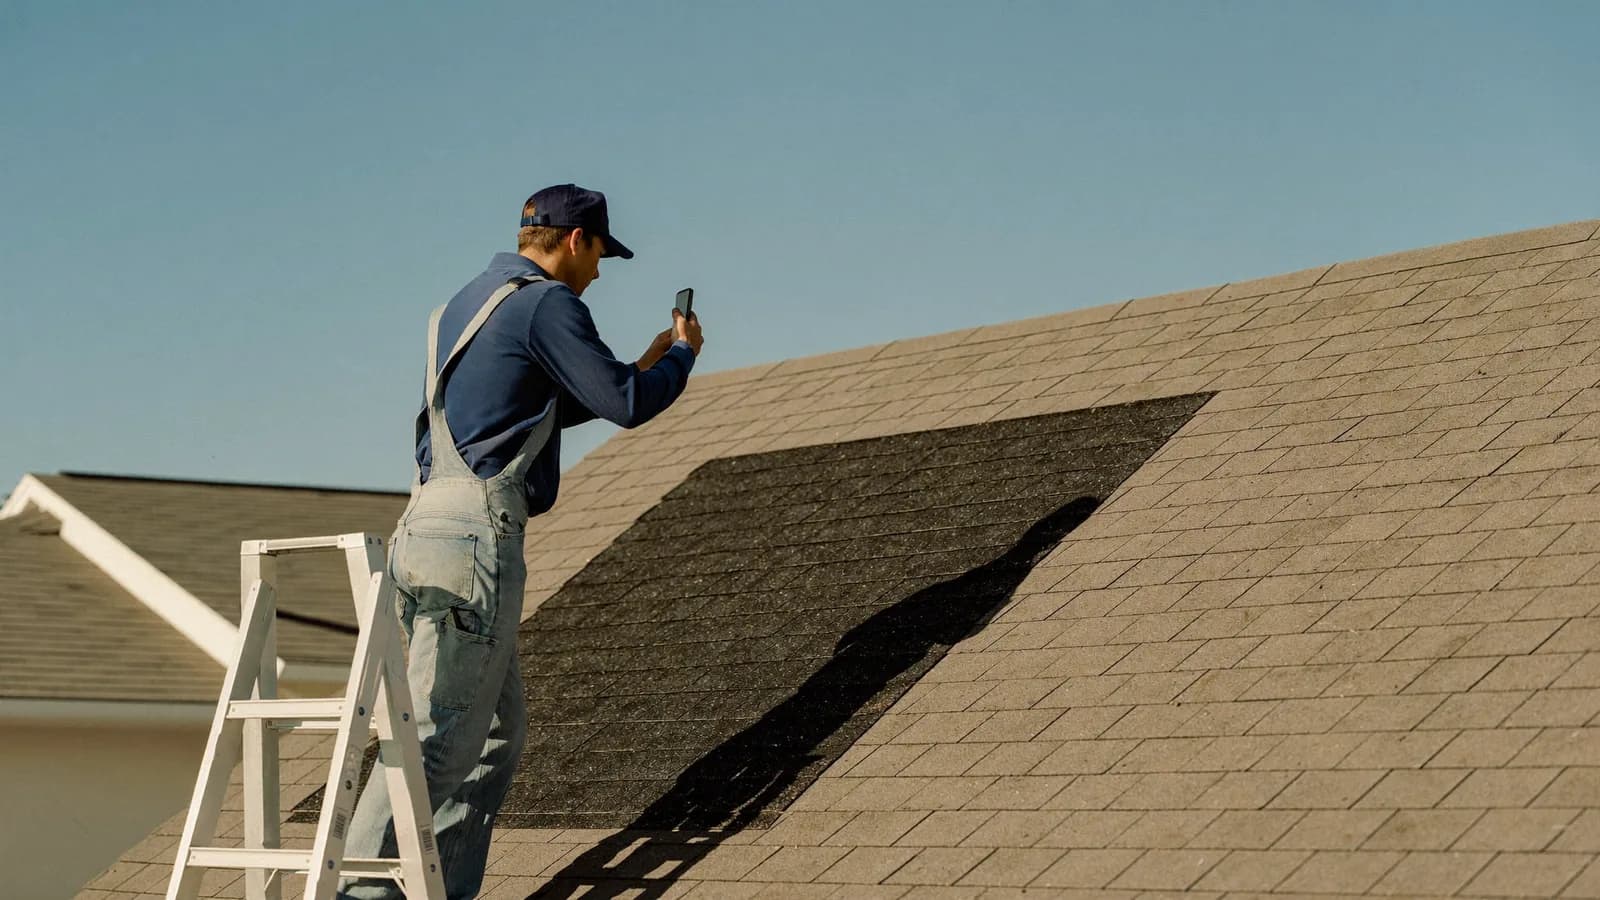
It starts with getting on the roof. You are looking for and photographing storm-specific damage: hail bruising, wind-lifted or creased shingles, granule loss, damaged vents and flashing. Document collateral damage too, dents on gutters, screens, AC fins, and soft metal, because that corroborates a hail event for the adjuster.
Show the homeowner the photos. A homeowner who sees the damage with their own eyes understands why you are recommending a claim, and it protects you from the "storm chaser" suspicion covered in beating the storm chaser objection.
Step 2: Deciding whether to file
Not every bit of wear is claimable, and filing on borderline damage can backfire. Walk them through it honestly: is the damage storm-caused, is it beyond the deductible, and is it significant enough to be worth a claim on their record. If it is a clear yes, help them move. If it is marginal, tell them the truth. That honesty is what earns the referral even when this roof does not sell.
Step 3: Filing and the documentation packet
The homeowner files the claim with their carrier, and you support it with clean documentation: dated photos, a damage summary, and a professional estimate. Explain what to expect on the call and encourage them to note the claim number and the adjuster's contact. The more organized the packet, the smoother the review.
Step 4: The adjuster meeting
This is the pivotal step. The insurance adjuster inspects the roof, often with the contractor present. Being on-site matters, so you can point out the documented damage and make sure nothing is missed. Prepare the homeowner for the range of outcomes: full approval, partial approval, or denial, and reassure them that a partial or denied first pass is not always the end, since supplements and re-inspections exist.
Step 5: Approval, scope, and the build
If approved, the insurer issues a scope and a payment, typically in installments, with the homeowner responsible for their deductible. Walk them through the paperwork plainly: what the insurer is paying, what they owe, and the timeline. Then the crew builds the roof to the approved scope. Clear communication here is what turns a stressful claim into a five-star review and a referral engine.
Where reps lose the deal
The claim process is full of moments where a homeowner gets nervous and stalls, the deductible question, the fear of a denial, the confusion about paperwork. Handle those calmly and specifically and you win. Fumble them, get vague, or overpromise a free roof, and the homeowner senses it and pulls back. The steadiness is the skill.
And steadiness under pressure is not something you read your way into. With ColdOpen, you can rehearse the claim conversation out loud against a worried voice homeowner who asks "will my rates go up?" and "what if they deny it?", then get scored on how honestly and calmly you guide them, so you are the advisor they trust before you are ever on a real porch.